Looking for a fun and easy DIY project to keep you busy this summer? Look no further than this tutorial on how to paint a thermos with an airbrush! This is a great project for beginners, and it’s the perfect way to show your creative side. In less than an hour, you can have a one-of-a-kind thermos that will brighten up your day. So what are you waiting for? Get started today!
Choose the right paint for your thermos
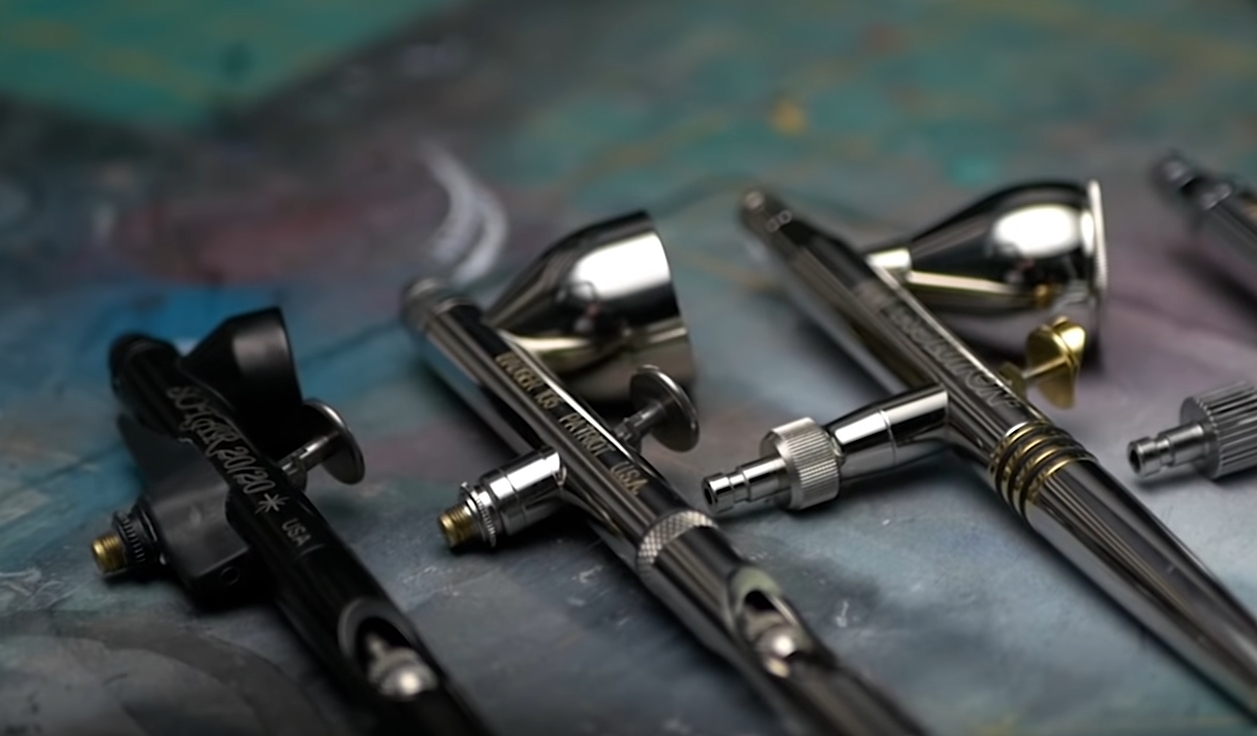
Not all paints are created equal, and this is especially true when it comes to painting a thermos. You’ll want to use a paint that’s specifically designed for use with an airbrush, as this will give you the best results.
There are a few different brands of airbrush paint on the market, so do some research to find one that will work well for your project. Once you’ve chosen the right paint, it’s time to get started!
Follow these steps to paint a thermos with an airbrush:
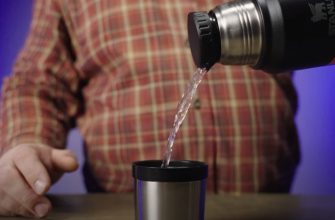
- Step One: Clean the surface of your thermos with soap and water. This will help the paint adhere better.
- Step Two: Set up your airbrush according to the manufacturer’s instructions.
- Step Three: Prime the surface of your thermos with a thin layer of paint.
- Step Four: Paint your thermos with light, even strokes. Work in small sections to avoid overloading the airbrush.
- Step Five: Allow the paint to dry completely before using your thermos.
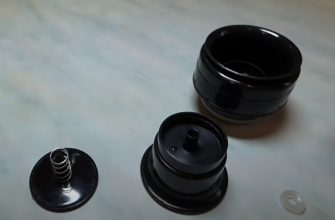
Clean your thermos and remove any stickers or labels
If your thermos is stainless steel, you’ll want to give it a good cleaning with soap and water. If it’s plastic, you can use rubbing alcohol. Once your thermos is clean and dry, you’re ready to start painting!
I like to use an airbrush for this project because it gives the thermos a nice even coat of paint. You could also use a brush, but it won’t be as smooth.
Prime your thermos with a light coat of paint
Let it dry for about an hour before moving on to the next step.
Now it’s time to add your design! If you’re not confident in your freehand painting skills, you can always use a stencil. When you’re happy with your design, give it a few light coats of paint.
Once the paint is dry, you’re ready to add a clear coat. This will protect your design and make it last longer. Let the clear coat dry for 24 hours before using your thermos.
Paint the design you want on your thermos using an airbrush
Start by sketching out your design on a piece of paper. Then, transfer the design to your thermos using a pencil or other sharp object. Once you have your design sketched out, begin painting it with an airbrush. Be sure to use light coats of paint so that the colors don’t run together. After you’re finished painting, let the thermos dry completely before adding any sealant.
Let the paint dry completely before using your thermos
This will keep the paint from chipping or flaking off. And that’s it! You now have a one-of-a-kind thermos that is perfect for summertime.
Now that you know how to paint a thermos with an airbrush, what will you create next? Share your photos and ideas with us in the comments below. We can’t wait to see what you come up with!
Enjoy your new custom-painted thermos!
Now that you have your new thermos, it’s time to put it to good use. Fill it with your favorite beverage and enjoy it on a hot summer day. Cheers!
Thanks for reading! I hope this tutorial was helpful and that you enjoyed painting your thermos. If you have any questions or comments, please feel free to leave them below. Happy painting!